 "StudyStudyStudy" (jesterjin)
04/06/2017 at 14:40 ē Filed to: None
 5
5
 6
6
 "StudyStudyStudy" (jesterjin)
04/06/2017 at 14:40 ē Filed to: None |  5 5
|  6 6 |
First off was making the cuts and building the block off plates.
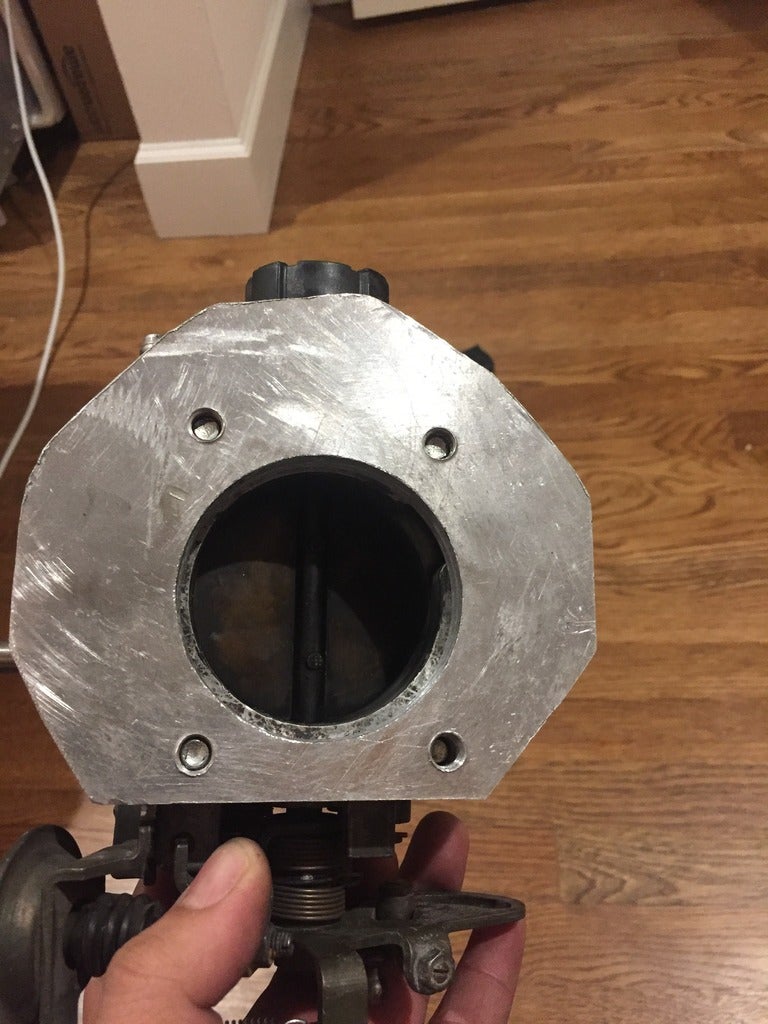
I used a hole saw to get the right size then carefully marked and drilled out the mounting screws. Tapping the holes was an absolute nightmare. Aluminum is fairly easy to get started, but the chips are large and back up the tap. You either have to run no oil so the chips fall out and fight against friction, or run oil and back out the tap to clear the chips every 1/4 turn.
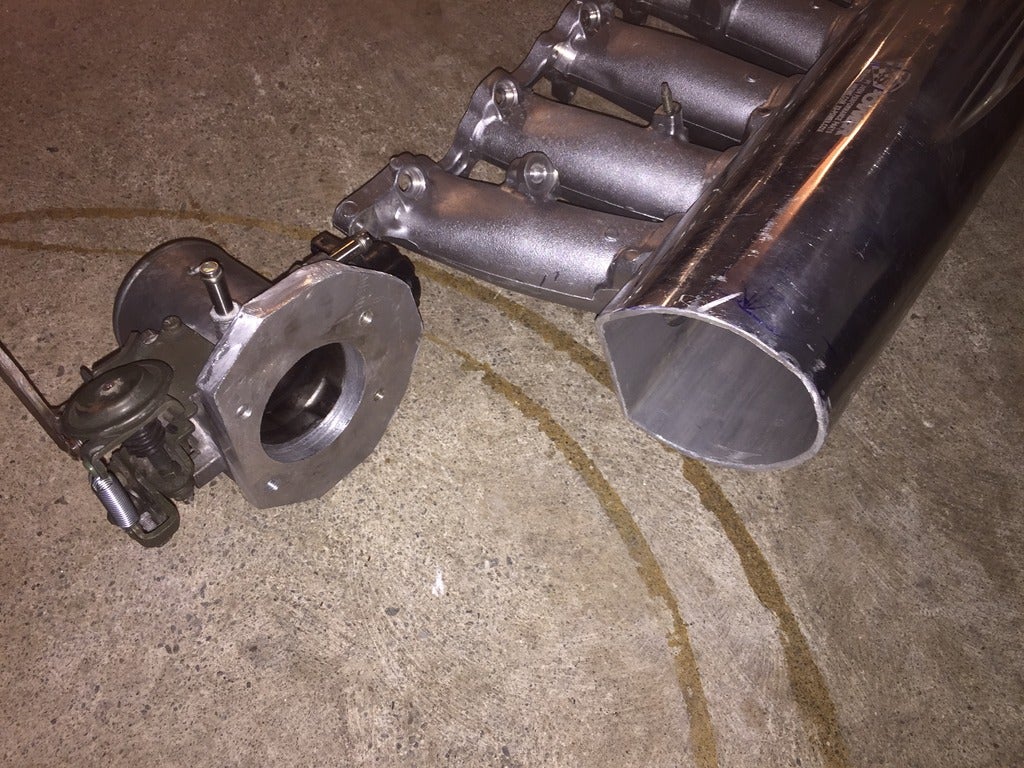
Then I cut the adapter tube to accept the flange with the throttle body. I threw a bit of angle at it so it would point towards the opening I had used on the 7mgte for the intercooler pipes.
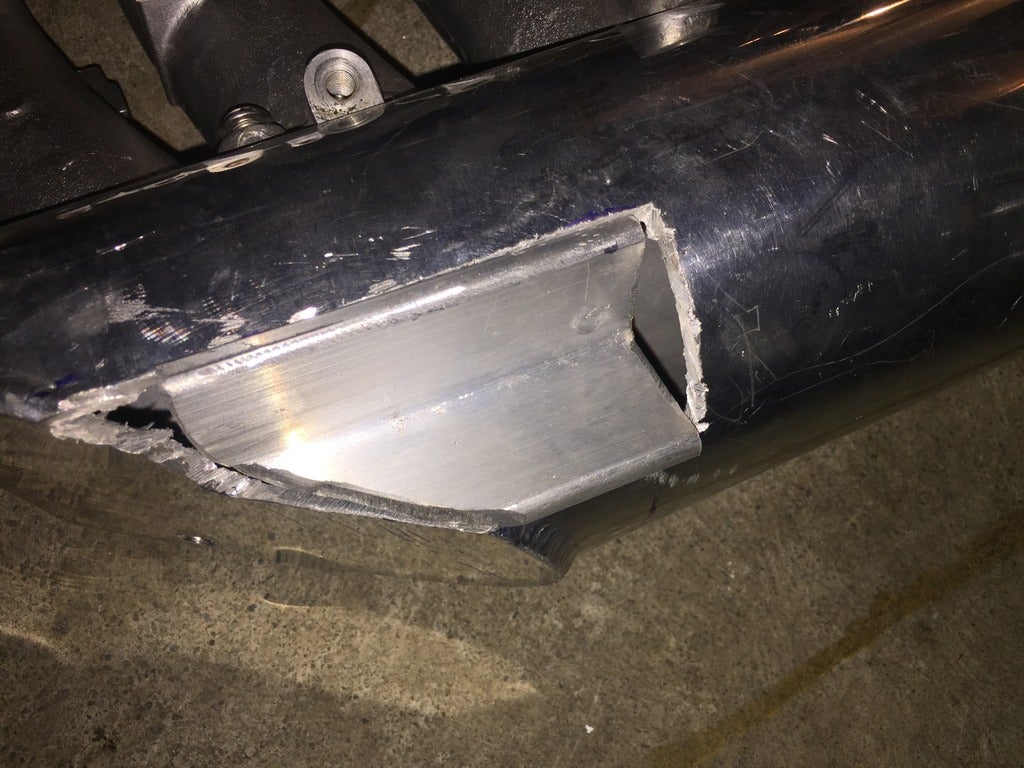
Then the problem child, had to make the divot to clear the nipples on the brake master cylinder. The plate is fit from the inside, just placed outside for the picture.
Getting the manifold welded was quite an ordeal. Given the design, ideally what I wanted to do was have the runners welded directly to the adapter tube. Not too many people were willing to try and weld up aluminum, and those that were, were hesitant to take it on given how long of a bead it would be.
After some back and forth with a newer welder who was willing to give it a shot. He ended up injuring himself and was out of commission for a bit, I found another welder who said he would take a look at it. I brought it to him and he said he could take it on, but had to build a table first for someone else. I figured maybe in a week or so, but he called me the same day in a couple hours and told me he was already done.
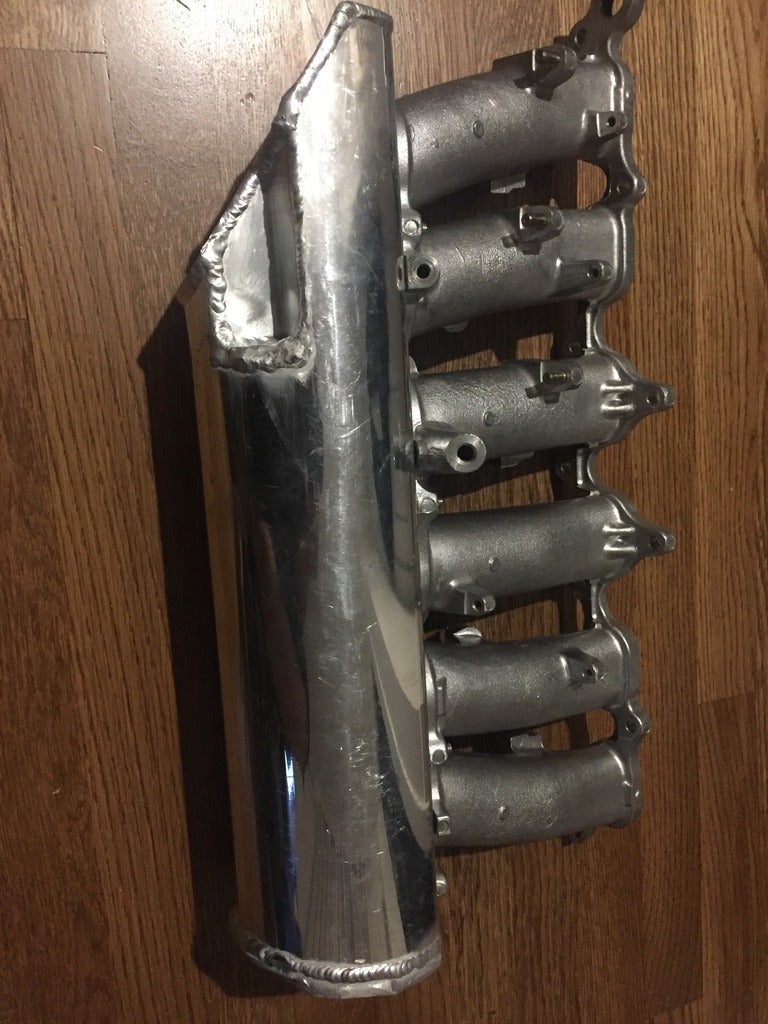
Unfortunately given the small opening and lack of people willing to try and make the weld I made the decision to just bolt the manifold to the runners.
Instead of using the cheap looking graphite gasket, I chose to run a stamped steel replacement gasket. Unfortunately the fit wasnít as great as I wanted and it failed the light test as I could shine a light and see it inside. Either the runners were warped or the adapter tube was. I went to my backup and ran a thick bead of JB all around. The bolts hold the piece together so it should only be keeping the pressure from leaking out.
Interesting story on the turbo manifold. I picked it up from a forum member who couldnít use it with his turbo and spacer. I paid for it and he shipped it standard ground, dropping it off around 3pm? I received a package at 8am the next day. I live in washington, he shipped the package from new jersey...shipping companies are funny.
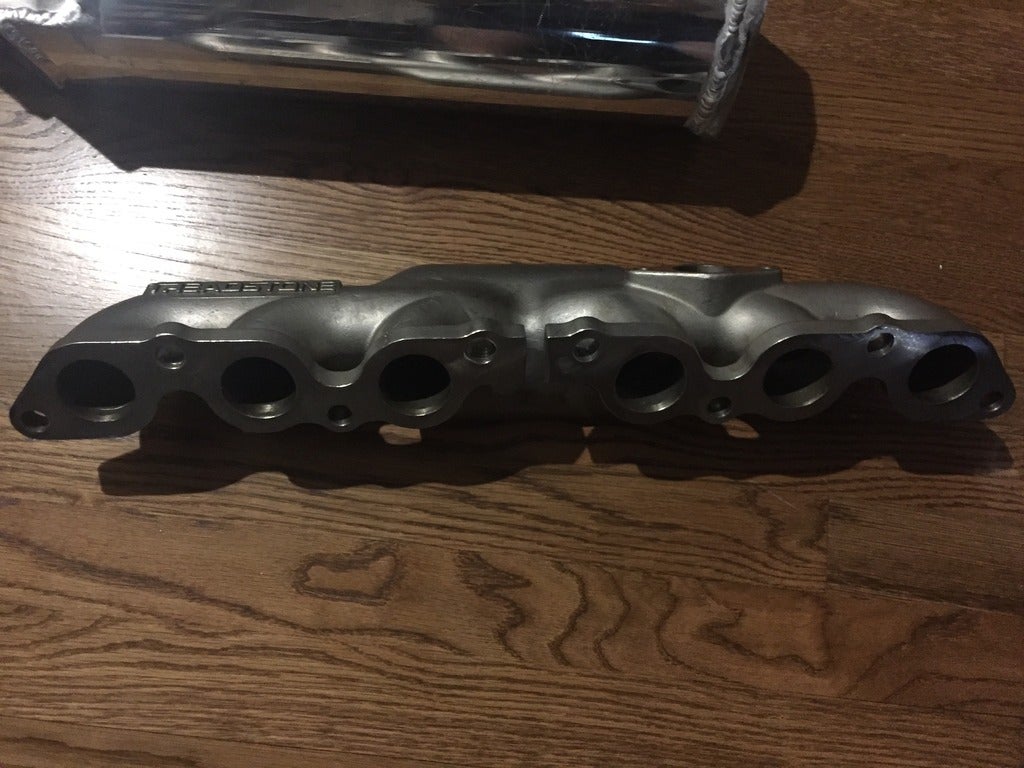
I cleaned up the treadstone 2jz-ge turbo manifold. My plan was to use no adapter and a small hotside so I picked it up. Backup plan being two adapters to move the turbo forward and up and make it into a top mount. Once again, a bit disappointed with the name brand part. It is a cast stainless steel piece which is awesome, but the holes were off so someone before me had drilled them out to fit the head.
And in addition...
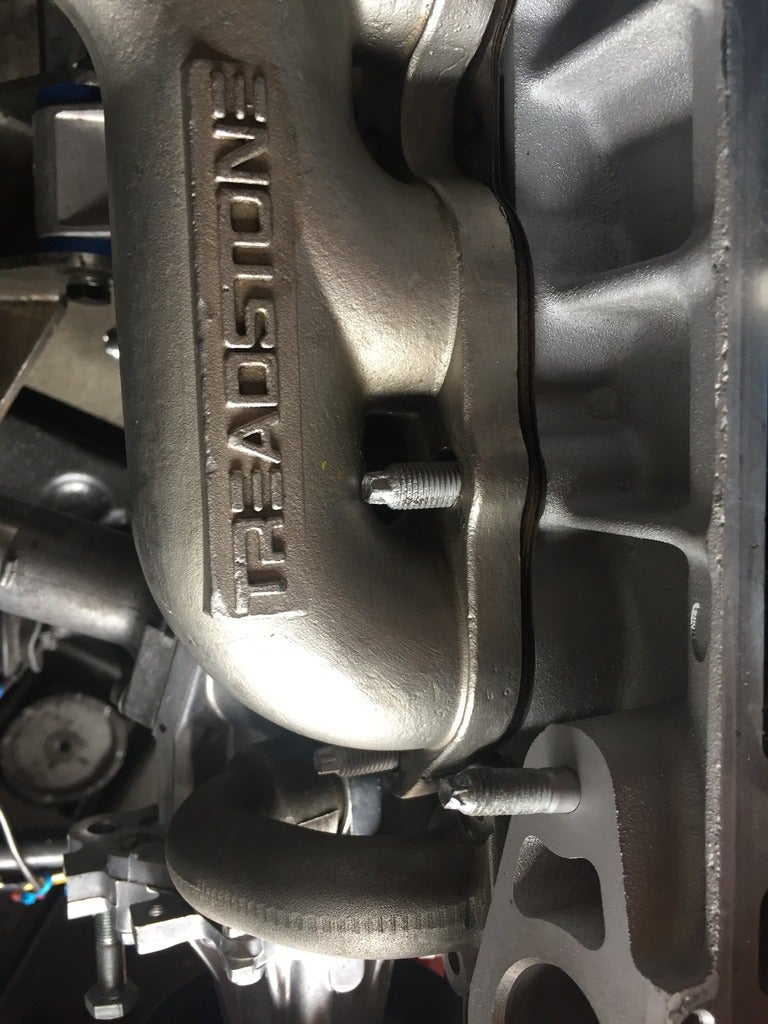
Fuuu.......
The studs were hard up against the manifold when placed on the head. It also looks like getting the nuts on with the manifold seated against the head is out of the question.
Well decided I might as well get all the bad news out of the way and see how the turbo would fit.
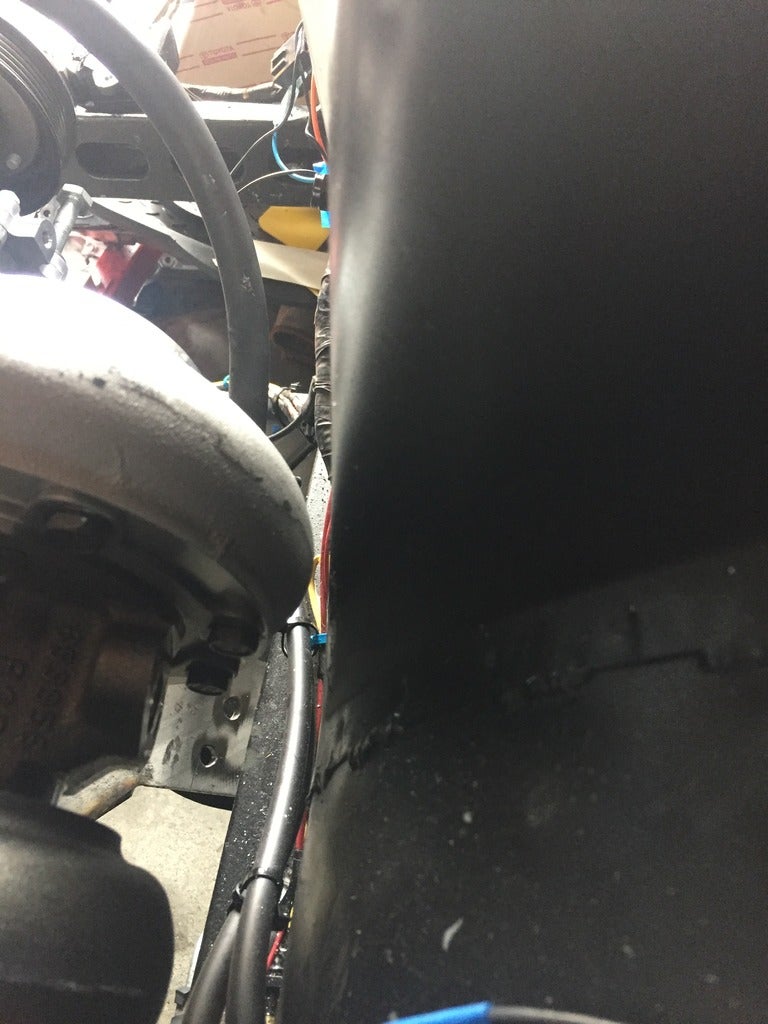
Pretty tight, but seems like it will work! The fact Iím running poly engine mounts and the innate balanced characteristic of the inline 6 should mean minimal movement so Iím hopeful.
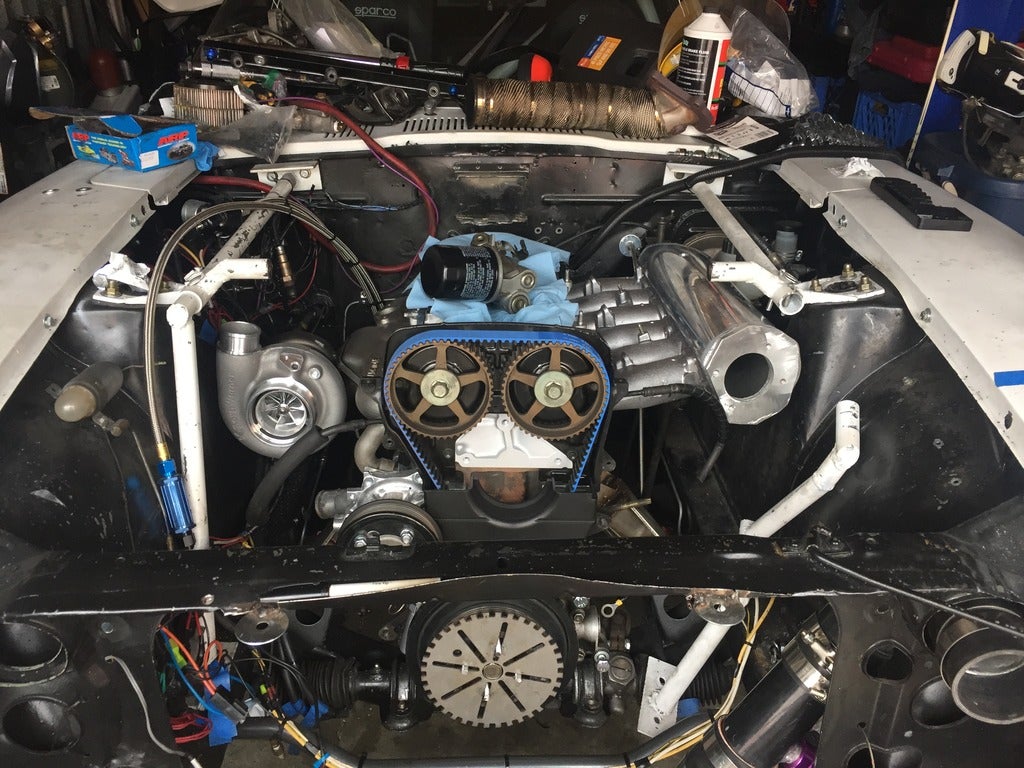
And the money shot. Amazing how much more complete a motor looks with the manifolds on. Unfortunately quite a fabricated picture. Turbo is held on by two bolts, exhaust manifold has no nuts, the intake manifold held in by two bolts.
And thatís not all. I even managed to go ahead and cutup my stock trigger mount and rework it.
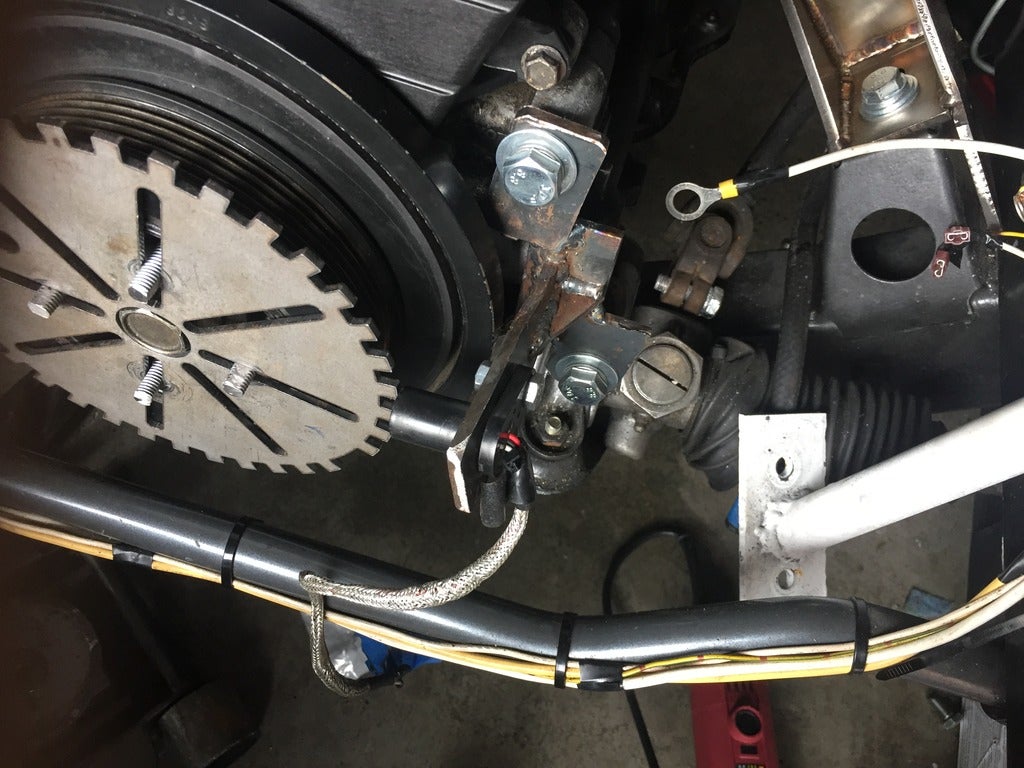
It is pretty close. I eyeballed it as I didnít have the right hardware at the time when I welded it together.
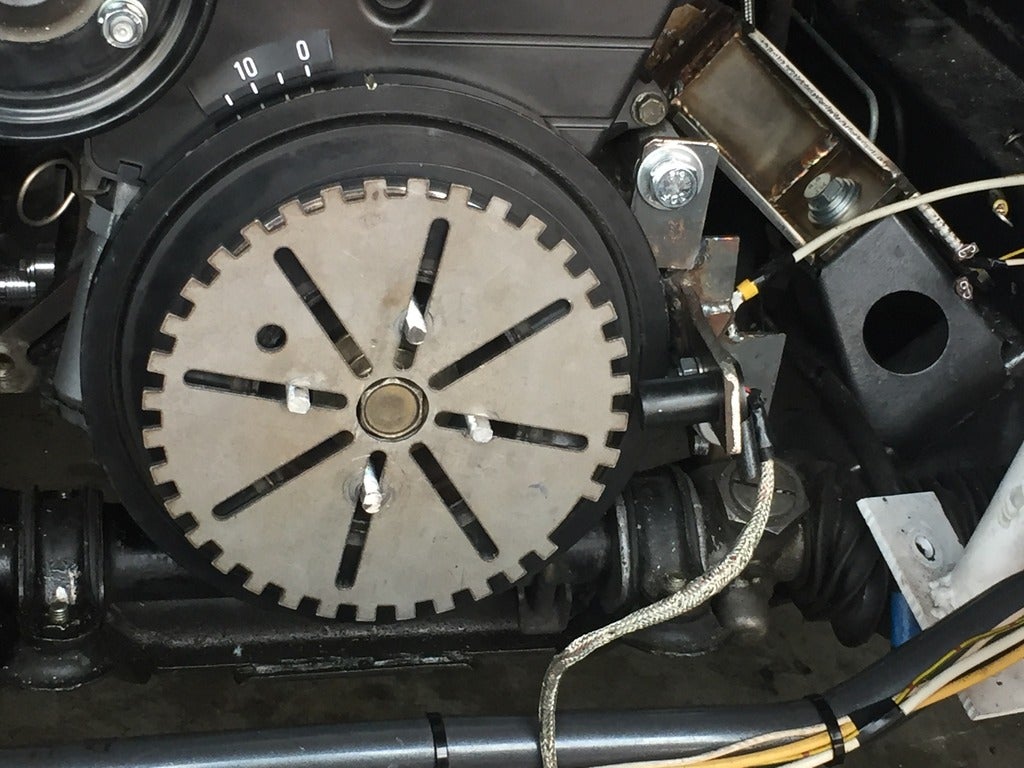
It might work, but it does have an angle so I might have to slot the lower bolt hole or re-weld it. Not worried as it is easy to access especially without the radiator installed yet.
With everything in place I ordered some of the last parts I think Iíll need. A catch can, the oil feed and return lines, u bends to fabricate the turbo and waste gate exhaust, o2 bung for the sensor, and vacuum fittings. I still have to order the valve cover gasket set, but Iíll wait until the motor is mostly back together to see if I need anything else from them.
Lessons learned:
Keep at it!
Sometimes even name brand stuff does not deliver.
Solve one problem and find a new one.
Money spent:
Treadstone 2jz-ge IS300 turbo manifold - 250
Aluminum for intake manifold - 20
FFIM adapter - 120
Welding for manifold - 100
Subtotal - 490
Total spent -28355
!!! UNKNOWN CONTENT TYPE !!!
 Leon711
> StudyStudyStudy
04/06/2017 at 14:53 |
|
Clicked the star before I even read it. Love this stuff. Excellent work.
 Stapleface
> StudyStudyStudy
04/06/2017 at 15:05 |
|
I know itís hard to say because Iím certain you didnít think you would be this far in when you purchased it, but when you were on your journey sort of early on, did you have a ballpark of where you think you would end up, price wise?
Your dedication to this project is amazing to me. I love reading every update, and every workaround youíve had to do to get this project to where you want it.
 Aremmes
> StudyStudyStudy
04/06/2017 at 15:05 |
|
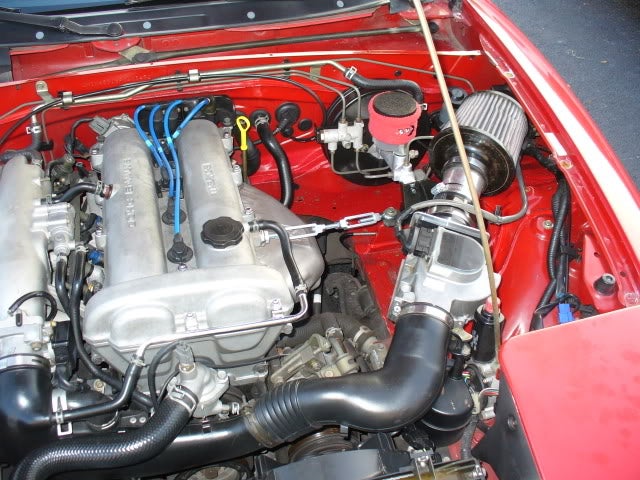
The engine might still rock around during the acceleration
as it tries to turn the driveshaft through the transmission. A turnbuckle attached to the now unused exhaust manifold bolt should keep it steady. Hereís an example:
 StudyStudyStudy
> Stapleface
04/06/2017 at 15:13 |
|
Hmm it is hard to say. I was definitely naive in the beginning, and my goals were very different. I think I probably envisioned 10k or so once I realized how bad the body was in. The original plan was a vq swap and coilovers which if I were to do now I think I could pull off for under 10k, but I did a lot of wandering around and a lot of things twice.
Iím not sure Iím deserving of that kind remark. Lord knows this car was almost sold, traded, and parted out at different stages over the years.
Thank you though, hope it is entertaining to some extent. Seems I do short sprints and run straight into walls these days.
 StudyStudyStudy
> Aremmes
04/06/2017 at 18:49 |
|
Weíll have to see. I used to have a cross brace that had a small divot cut out for the valve cover, less then a 1/4 inch of clearance to it and it never left any witness marks on the valve cover.
A limiter strap is not a bad idea though.
 StudyStudyStudy
> Leon711
04/06/2017 at 18:50 |
|
Oh shucks thanks!